Sunday, February 5, 2012

zip..zip..zip..

I thought I would try my hand at making a wallet. I failed at the wallet but learned what needs to be fixed. My failure resulted in a nifty little zipper pouch at least.

I've seen the card holder wallets everywhere but never find one that I REALLY like. I will keep trying at it until I come out with one that works. Below are the pix of the project.


I love the color combo and the fancy stitches...but as far as holding cards in place, it fails.

Machine Embroidery Adventure

Very excited that I finally got around to trying out the Machine Embroidery on the Bernina B330.

Even though it only has one set of letters (in basic block font) and numbers its still pretty darned cool. I tried it out on some felt to get a feel for how it works.

Hit the "A" button and use the left or right < > directionals to find letter. Drop presser foot (no need to change the foot from the main foot, COOL) and sew. It does take a little time to get a feel for when to stop and punch in the next letter. I haven't tried to memory option with the M.E. but it would be helpful as to not have to seek the same letters over and over for multiple projects using the same words or numbers.


Will be doing a little more tinkering with embroidery soon. Next time free hand!

Monday, January 2, 2012

Gator Fever.

Since Moving to Gainesville I decided to try and craft some Gator colored items. My first project was started in Oct. I didn't get around to posting the project or pictures. I am doing so now. :P

I was sent a bracelet a year or so ago in a swap from Swapbot that sparked the idea.

The Original:


What I've come up with:


This is the most that I've tinkered with embroidery. I picked up a few books at a library book sale that were from the 70's. So many neat ideas as far as patterns and stitches. I'll be trying them all and see what works and what doesn't for these little 'buttons'. I plan on stringing them together to make a 'bib' style necklace and a few bracelets. I will also be using the Bernina to do some free hand embroidery as well.

The Materials:
-Felt cut into 1-1 1/2" circles
-Embroidery Floss
-Buttons
-Beads
-Any embellishment suitable for wearable art

The Project:

Cut felt into 1" or 1 1/2" circles (depending on how big or small you want them).

Decorate one circle (Add beads, embroidery, sequins, hand-paint something..etc etc.)

Once your finished decorating place on top of a blank circle, place button between the two felts and use your fave finishing stitch (I used the blanket stitch) to close the edges around the button.

Now you can place a pin back on the finished piece or string them together for a necklace/bracelet/belt, whatever you fancy. A fun and easy project with endless results. I've been thinking about using these for the inside of some felted flowers as well.


Although I'm still not a Gator and might never be a Gator, I can make gifts for others that are Gators. GO Team GO!

Namaste.

Sunday, January 1, 2012

Holiday Catchup

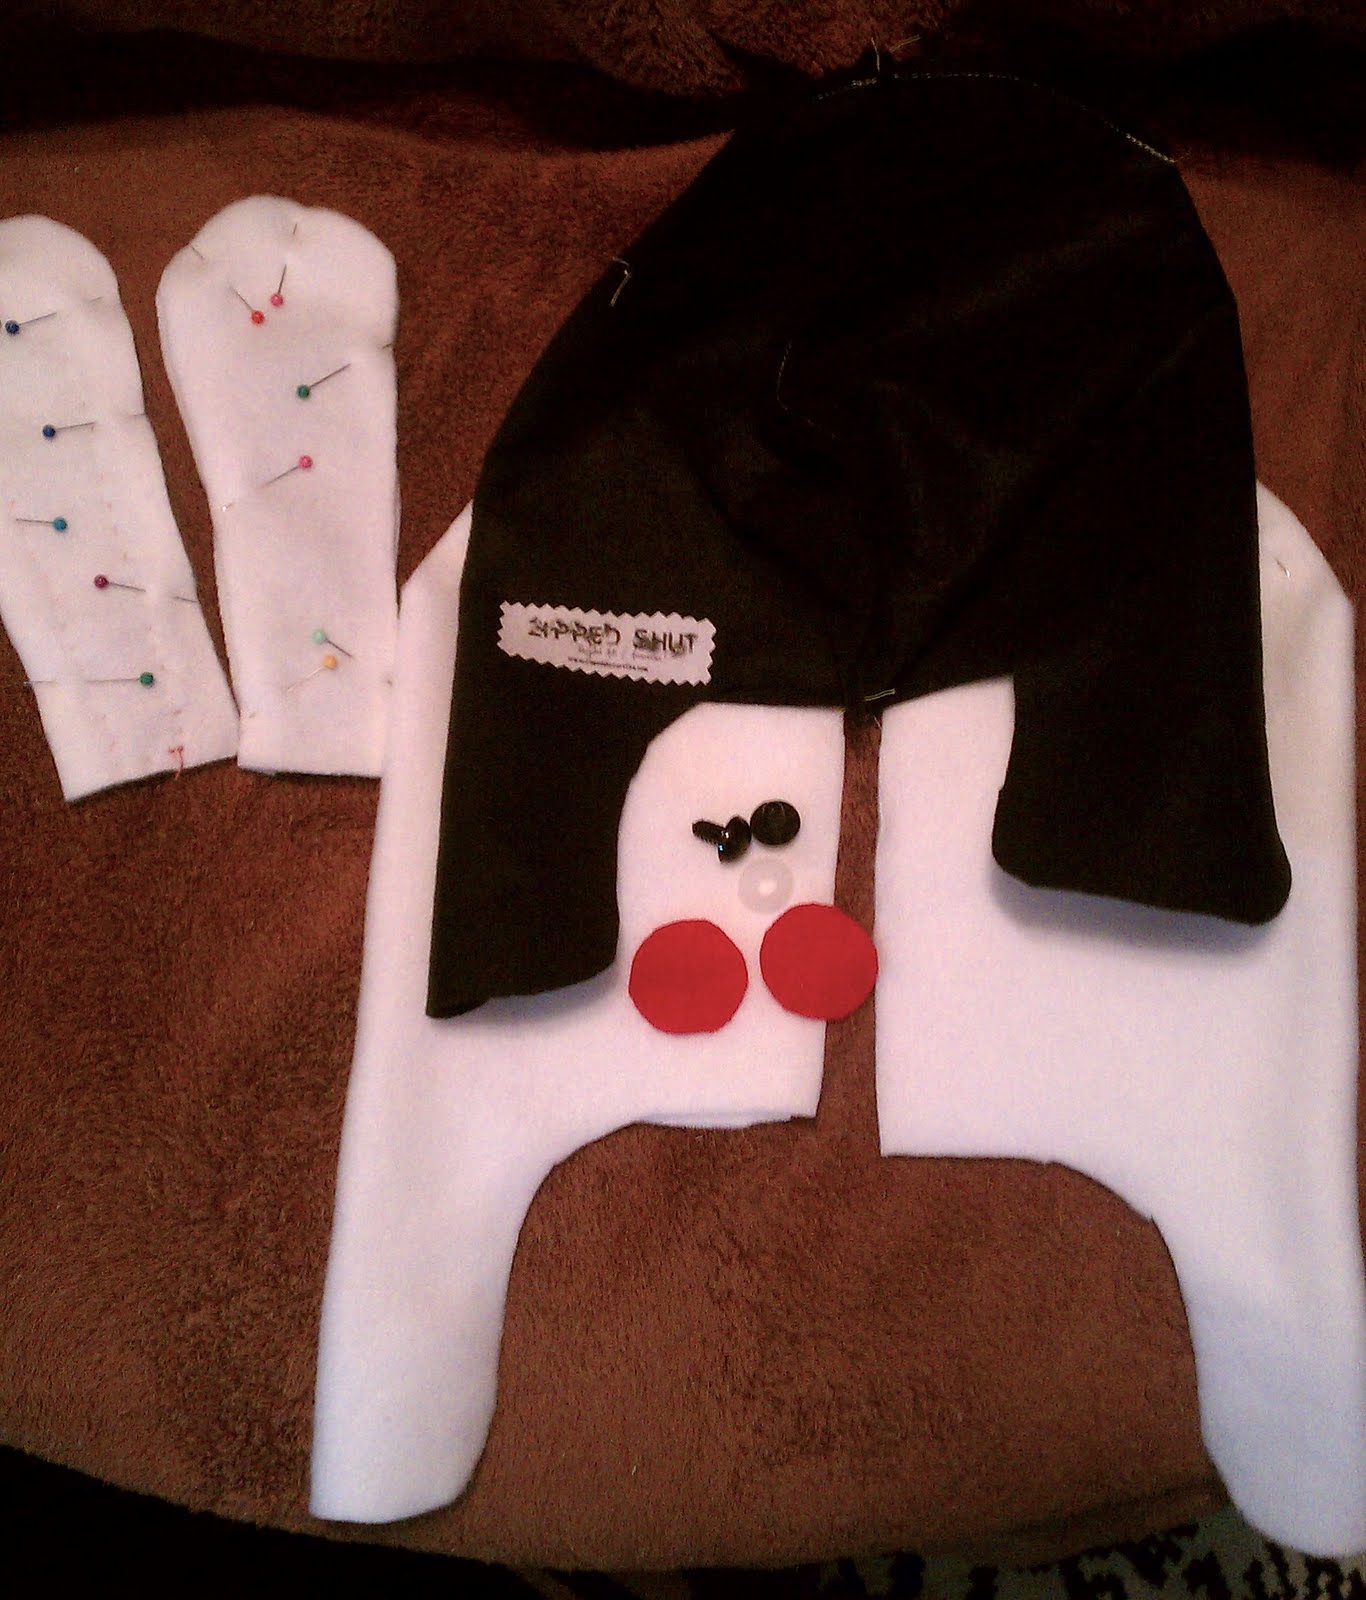
My oh my its been a while. Lots of work and unpacking over the past few months. I did get a chance to get some Holiday sewing done. I decided to try my hand at making fun beanies. I couldn't find a pattern so I freehanded one. It took a little altering but I finally made one that worked out.

The first try left me with a very tight fit. Granted the hats I wanted to make were for an 11yr old. I hope they fit!

This was the first try:


The pattern:


My project was inspired by a picture the munchkin doodle had on his FB page. Its a Vampire Bunny. He seemed to dig it a lot so I decided to make a beanie and stuffie of the Vampire Bunny.

Project time: 5hrs

Materials used:
- The Bernina B330
-Fleece
-Felt
-cotton label
-Fabric paint
-Thread
-Embroidery Thread
-Braided black yarn


The Stuffie almost done:


The finished beanie!!


The two finished pieces:


Hopefully I'll get a picture of him in it soon.

I'm not sure that I remember ever sewing really thick layers before but the Bernina really handled them well. I was shocked at how thick the layers of fleece and felt got. I had pondered doing some free hand embroidery but decided that will wait til the next project.

Hope everyone is having a great Holiday season!! Best Wishes for the New Year. Happy Stitching.

Tuesday, August 30, 2011

Moving day

Sorry for the lack of posts the past month. I've been busy packing to move. I'll have a few projects up this month to make up for the lack of adventure in Aug.

Namaste

Saturday, July 23, 2011

Back to the 60's

In my stash of patterns, like most of you out there, I have patterns I've sat on and never used. I have a handful that I got at a church rummage sale back in 1995 and a few I picked up in 1997 when I moved to Jacksonville,FL. Of those I decided to try my hand at one of the cute 60's dress patterns I got here in J-ville.
The pattern is an original not a re-launch. The instructions are hilarious and quite dated. I used white khaki material for the dress. It is very see thru so I'm looking to get some teal dye for it and possibly do a duel tone dye (teal and lime).

Here is the pattern:


Here is the version I made from the exact directions:


This was the first project I made with my new Bernina series 330. I plan to make another version of this dress but a little more updated. Meaning: use bias tape instead of lining it. Its way too bulky with the lining. The Bernina 330 handled everything like a dream, down to the buttons and button holes.

Off to continue my current projects. I'm tinkering with bike bags and mp3 player arm bands this weekend. Now that Blogger seems to be over its log in issues with my accounts I should be updating again on monday. Hope you all enjoy your weekend!

Namaste.

Sunday, June 5, 2011

ITS HERE!!

I am a bit overwhelmed and excited. Just a bit. *giggle* I got word that my new Bernina machine was ready to be picked up on friday and I picked it up on saturday after noon. I got to learn a few things about the Bernina 330 while I was in Paula's Fine Fabrics. My class lessons are postponed until July. A little bummed I have to wait but its going to be worth it. So back to the test drive, WOW! Bernina is just amazing. The machine is very smart (it has a memory for stitches that you've done and can be easily programmed) and easy to use. So far I'm absolutely in love with the feel of the machine. Its very sturdy but has an aire of modern (sleek silver accents and lcd panel) to it. The 330 has little thread cutters places in places you need them, like near the bobbin (it self threads the bobbin..no need to pull it thru the top!!) and the bobbin winder as well, not to mention to the side of the sewing foot. *giddy* Threading was a breeze, making a bobbin was a breeze. I think the foot pedal might be one of my fave features as to the aesthetics of the machine (i'll make sure to get a picture of that soon). The cord winds into a self contained compartment on the bottom. No more loose cords!

I took it out of the box last night and have it all set up. Now that I'm done with my impromptu callin and my errands have all been run I am about to go break it in. skiddlydoo!

Here are a few photos of the machine I got.


with the dust cover on, its sexy. It has pockets for the cords and pedal to rest in.


While I was waiting for my bernina to get here I started some micro greens. Its been fun trying to get my thumb from brown back to green. Since living in Fl my experience with growing things has been terrible so I picked up a few books on growing microgreens. Its only been a few days since I got seeds into dirt and they are coming along very nicely. Growing indoors always seemed like it might be hard but so far its been convient and easy.

here are a few pix of how they look so far:


mesclun lettuce mix (these are fast growers. I have 2 other types of lettuces I want to get started as well...then I will dive into some wheatgrass)


Beet micro greens (I love that some of the seedlings have a nice red hue already, tangy!)


snow peas as micro greens


Garlic Chives (these and most herbs will take a little longer to start sprouting)

I didn't know how easy and useful mircogreens really are. They can be used in salads, sandwiches, smoothies, and juices for a punch of taste and a boost of vitamins (and other good stuff). Growing them is as simple as reusing old containers (with holes poked for drainage) and a little seed starter dirt or pumice (which I will be trying as soon as I can find some, lol). Keep them in a sunny window and water as needed (when the dirt is dry to the touch or finger deep). They only grow a few inches before you cut them and nom them. After you've cut them some grow back in a few days and others need to be tilled and new seeds planted. Since they grow rather fast its not such a pain to replant new seeds. So far so good. I'll post a little update with my next project post once I've got some sewing done.

Have a good week! Thanks for checking in.